If you are like most merchants you have three primary focuses for your shop, speed, SEO, and conversion optimization. Google Optimize comes in to help with conversion optimization. It is a free platform by Google that allows you run A/B tests on your site. With A/B tests you are able to see what changes affect the conversion rates of your site for better or for worse. Then you can start optimizing your site to have the highest possible conversion rates. Who wants higher conversion rates?
Getting started
There is a prerequisite to using Google Optimize, you will need to have goals set up in Google Analytics. If you do not have goals set up, the data coming from Google Optimize is useless. So make sure you have your goals set up properly before continuing.
The first thing you will want to do is go to the Google Analytics Solutions Optimize website. Clicking the button below will take you there.
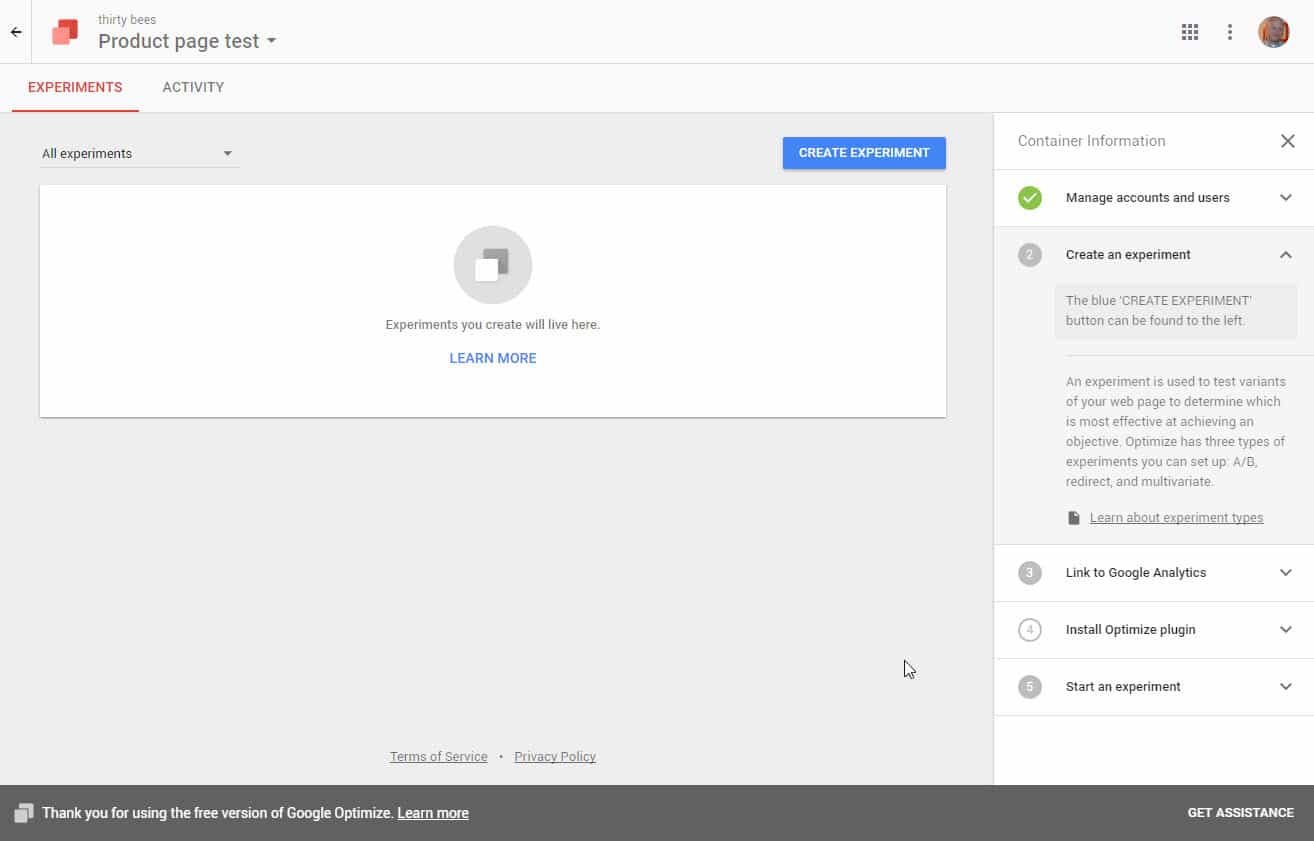
Click the sign up for free button on the Google Optimize site, this will take you to your Google Optimize account. The page will look pretty blank, like the image below.

Now click the Create Account button and give your account a name, click that you accept the terms and the next in the upper right hand corner. Now you can name the container for your first test. We named ours “Product page test”. Then you will be brought to the main screen where you can create your first experiment.
Creating your first experiment
Google Optimize makes it easy to create your first experiment. All you have to do click the create experiment tab. First you will name your experiment. I named ours “Add to cart button tests”. Then you enter the URL of the page on your site that you want to test. Once you enter the url you are presented with three options. Choose the A/B test for this tutorial.
Lets explain the other options before we go forward, just so you know what they are. A Multivariate test is a test that uses compounding tests. In out first test we are just going to have two different versions of a page that are rendered. A Multivariate test can render a virtually unlimited version of tests, while testing different aspects during each test. A Redirect test will can test two totally different pages. Say you want to test two different products for the search term “Mans shirt” you can send some people to the original URL and you can send others to the new URL that you want to test. Maybe it has a different design, or is a different style you are thinking of selling. The possibilities are really endless. Op, back to the A/B tests.
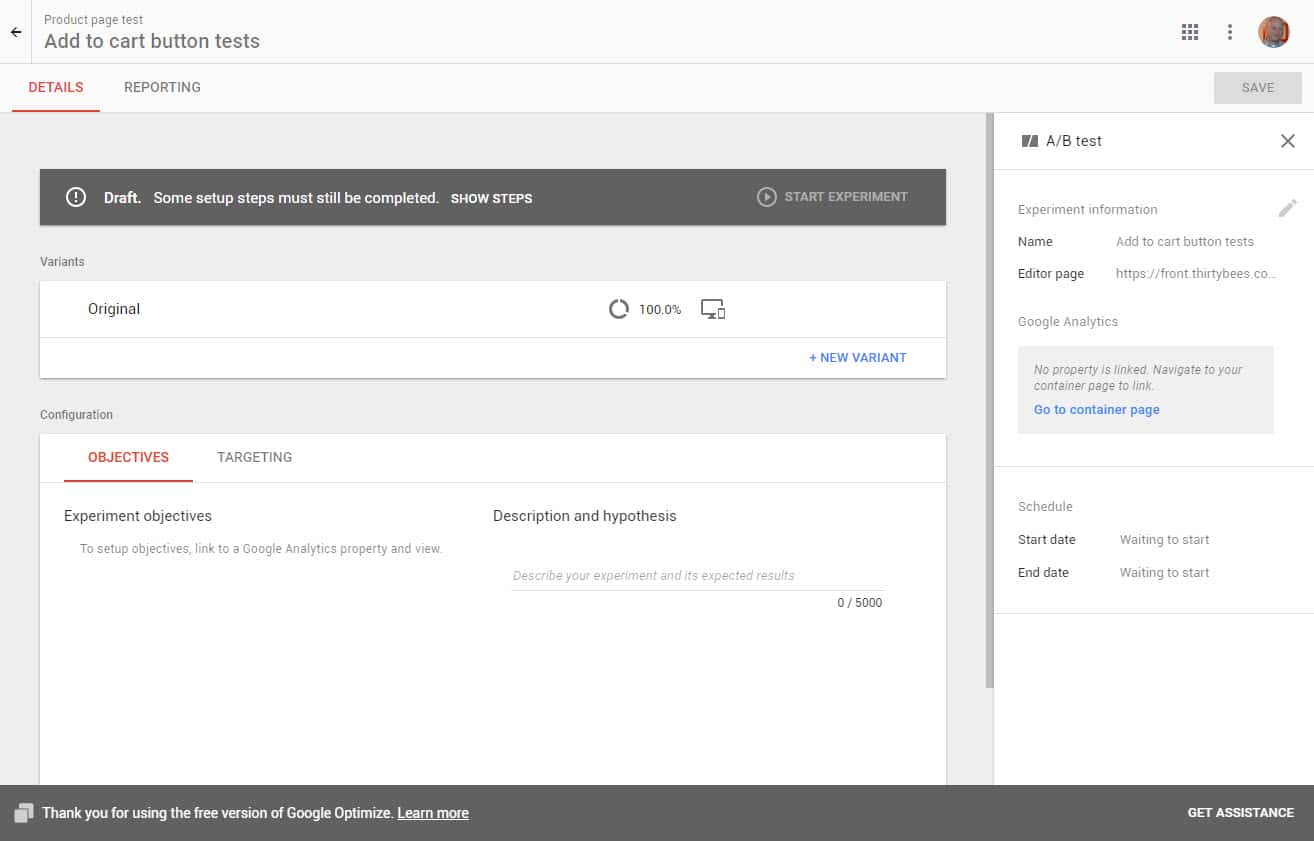
Once you click create your screen should look like the image below. You are going to want to click the New Variant button.
When you click the button a screen will slide out from the right and you can name your variant. We named ours Red Button and press save. The screen should slide away and you should see a screen like below.
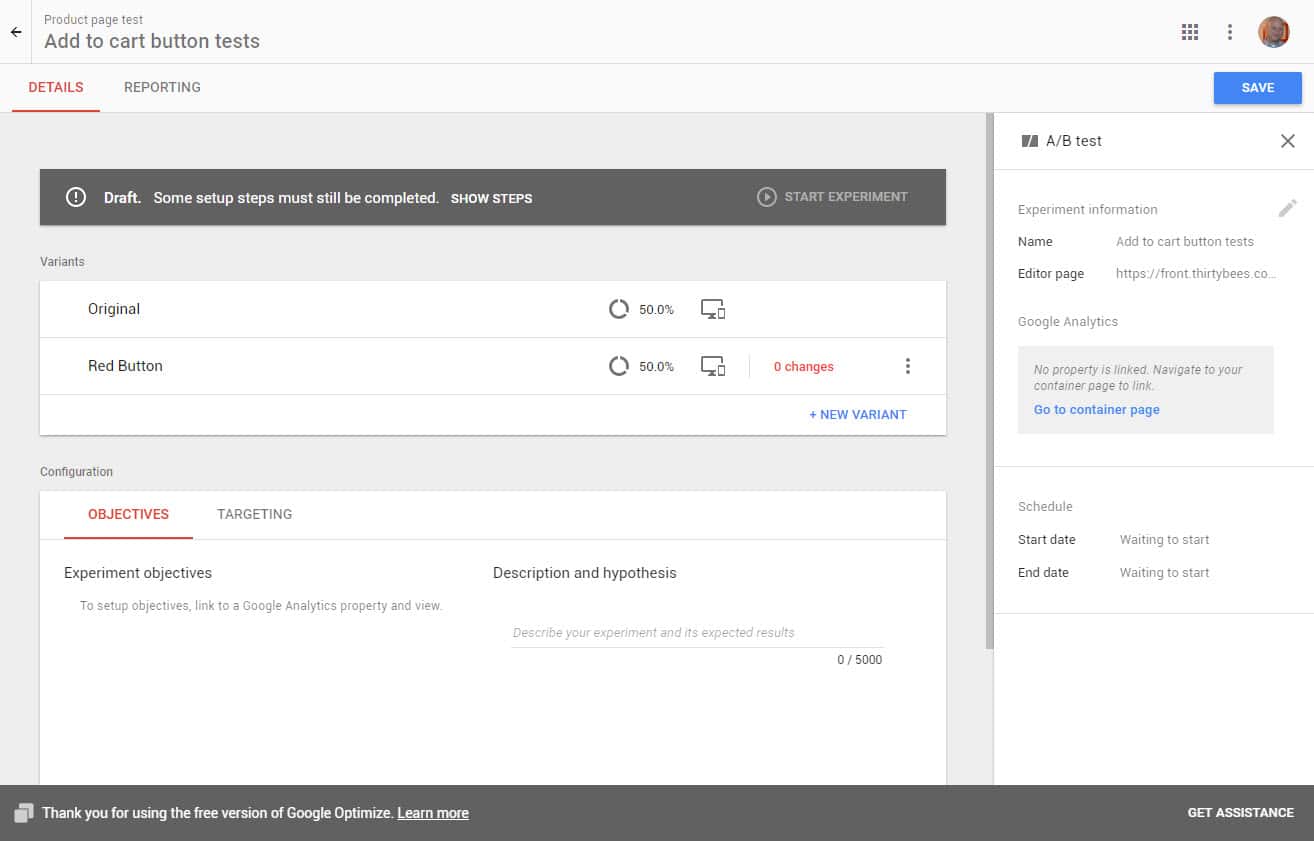
Now you will want to click the red text that says 0 changes. A little window should pop up that says you have unsaved changes, click save and continue to save your changes so far.
This next part is hard to explain in images, so I made a quick video. You do have to understand HTML elements a little bit to work with Google Optimize, if you make a mistake, don’t worry, it will not affect your live site. So you can play with it and learn what you are doing as you go. One note, in the video at one point the add to cart button does trigger, this will likely happen for you as well some times. You can just click the square with the mouse pointer in it, like I did in the video, and it will let you close the add to cart popup.
When you get done making your edits, click Save and then click Done. It will bring you back to the Google Optimize page where your experiments are shown. From here you can add as many experiments as you want, for the sake of this tutorial we are just going to add this one.
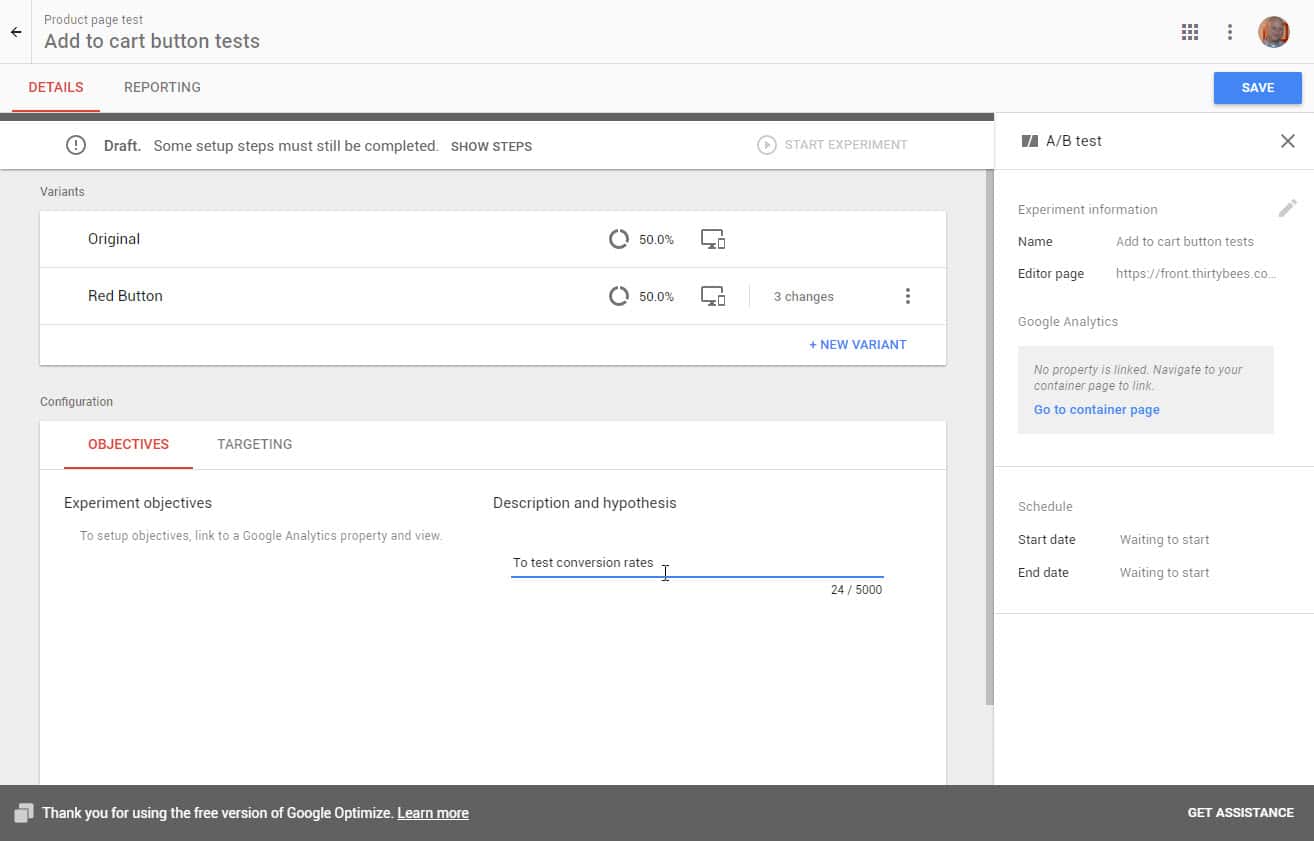
In the Objectives tab, give your experiment a description and hypothesis, ours it To test conversion rates. Once you fill that in, click the Targeting tab. You can adjust the targeting how you like, we chose to just stick with the default targeting of 50/50 and just trying the test on the one page. Once you have it set, click the save button in the top right corner. Then click the blue text about halfway below it that says Go to container page. It will bring you back to the main experiments window where we can link your Google Analytics property to Google Optimize.
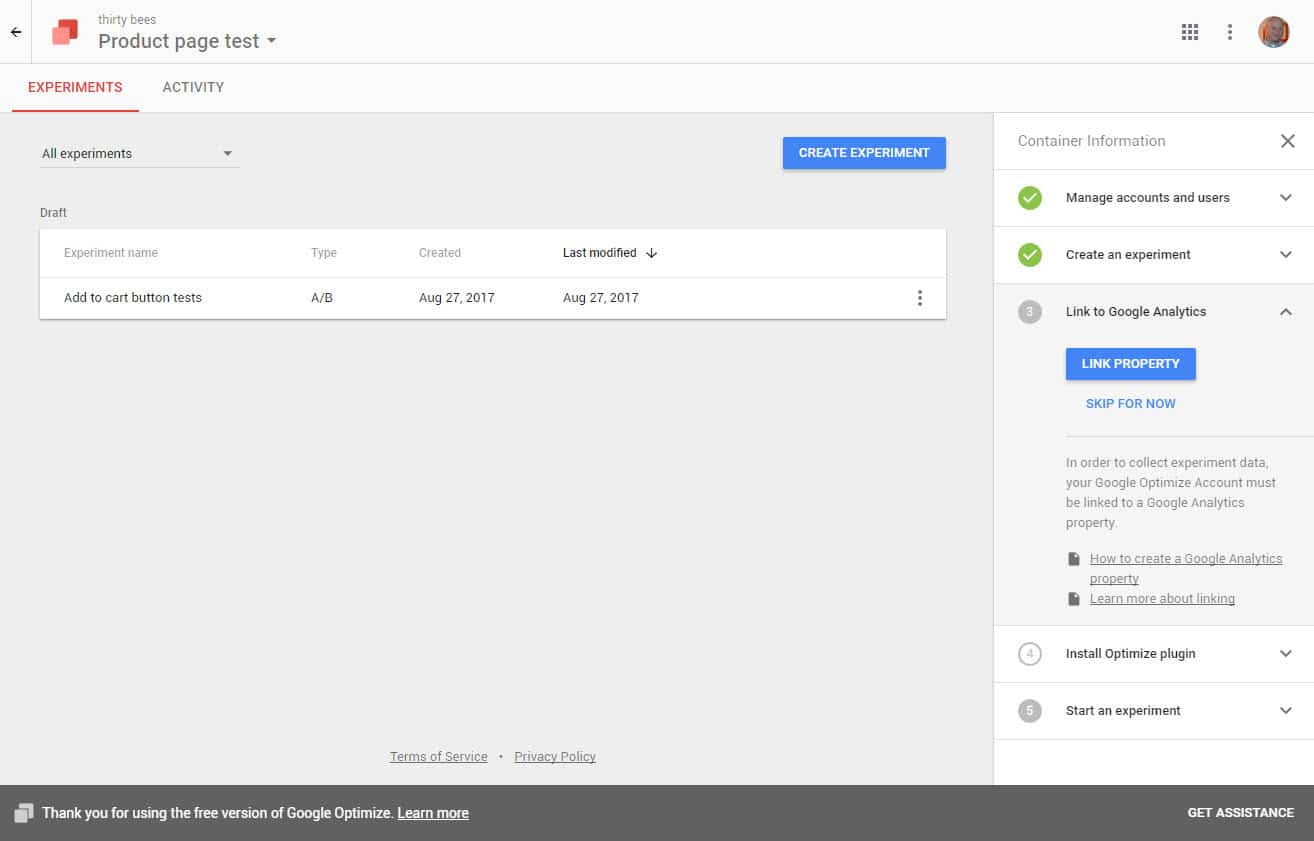
Now click the blue Link Property button. A window will slide out from the right hand side of your screen, from there you have to select the Google Analytics property that is on the site you are testing on. Make sure All Web Site Data is selected as well, then click Link.
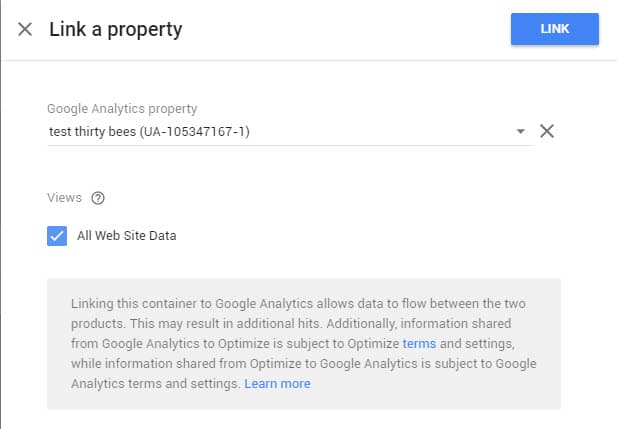
Once you link the property a popup window should come up. Click the Get Snippet button.
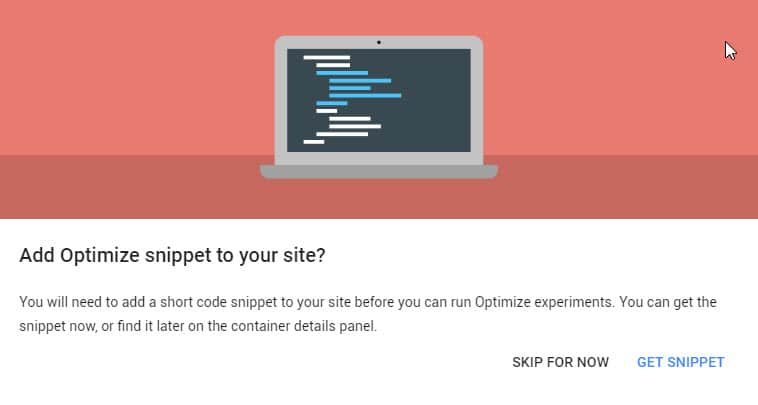
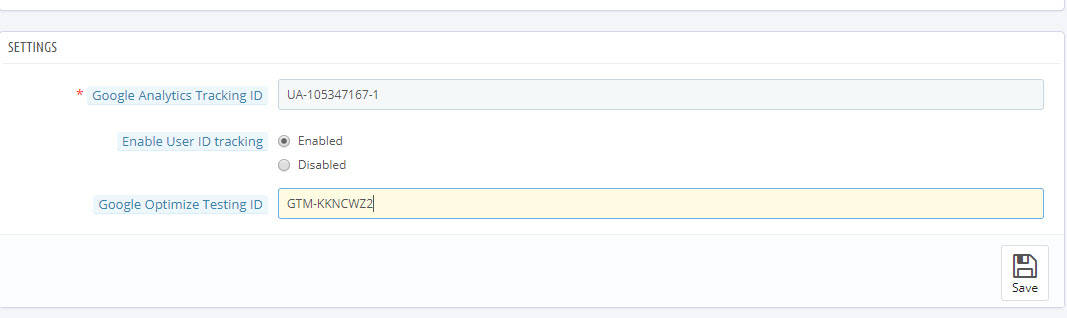
Another window should pop up with the Google Optimize snippet in it. You do not need to worry about most of the code in the window. If you are using thirty bees Google Analytics module 3.1.0 or greater, the Google Optimize code is built in. All you need is the property ID. In the image below the property ID is highlighted in yellow. Copy that code to your clipboard.
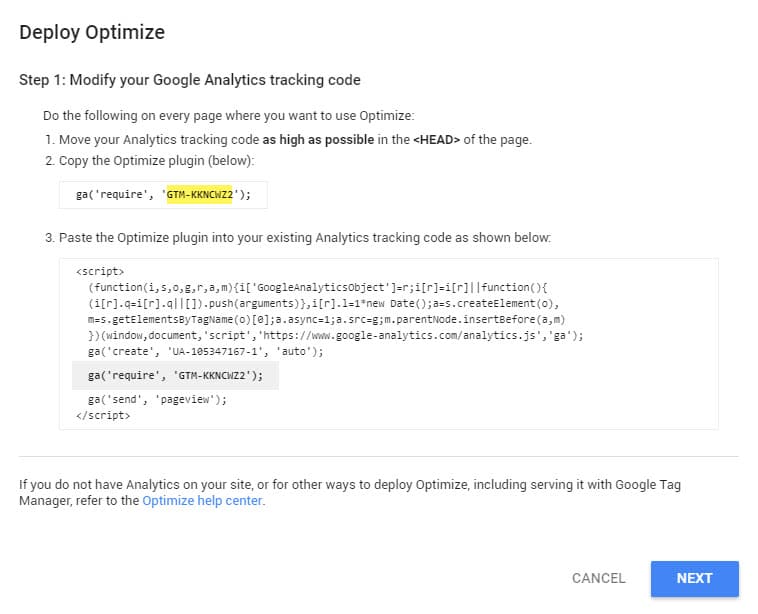
Now that you have copied the Property ID, you can click next, then click done on the next box. Now you will want to go into the back office of your shop, go to the modules page, and go to the Google Analytics module and click configure. In the module, in the last text box, paste your Property ID.
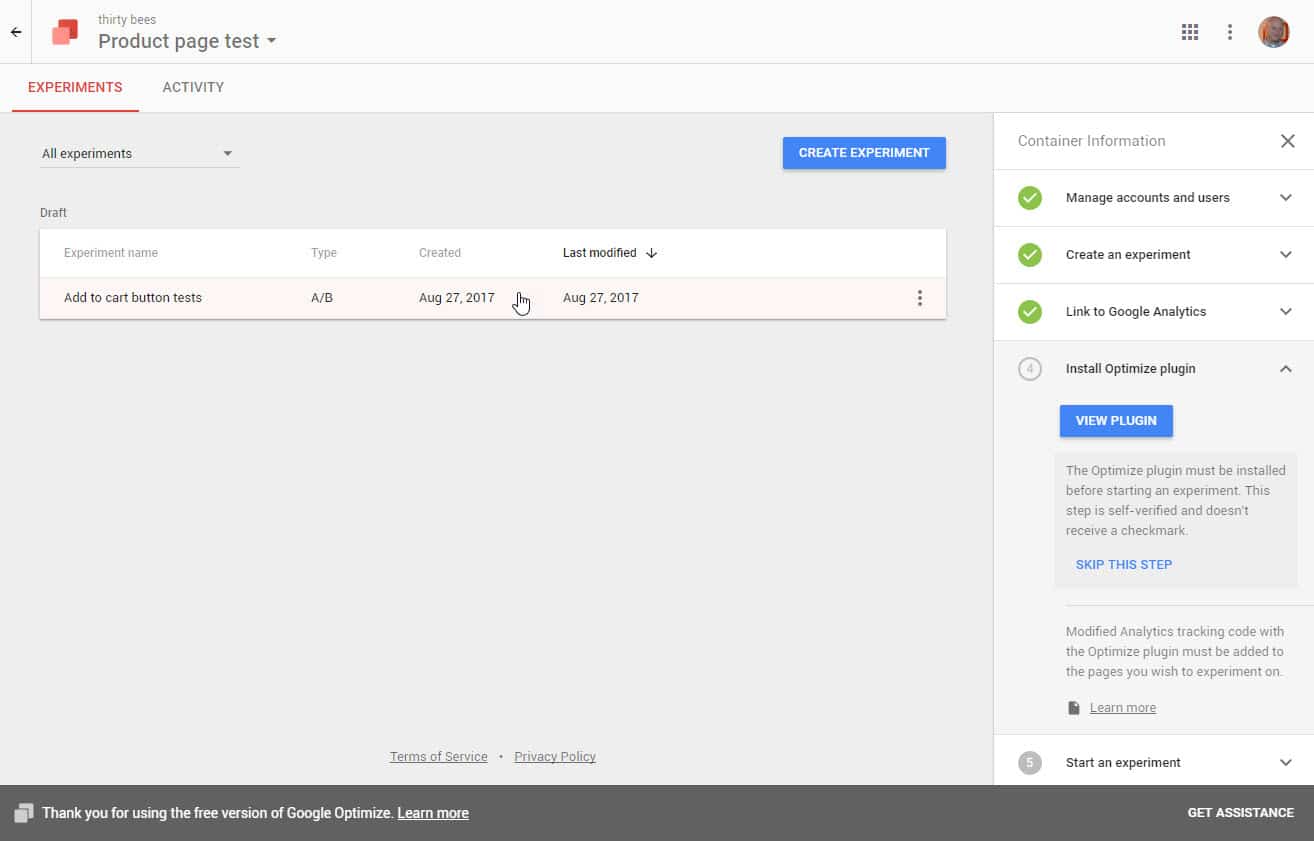
Now that your Google Optimize ID is saved in your site, go back to the Google Optimize page. It should look like the image below. Click the experiment name and it will open the experiment.
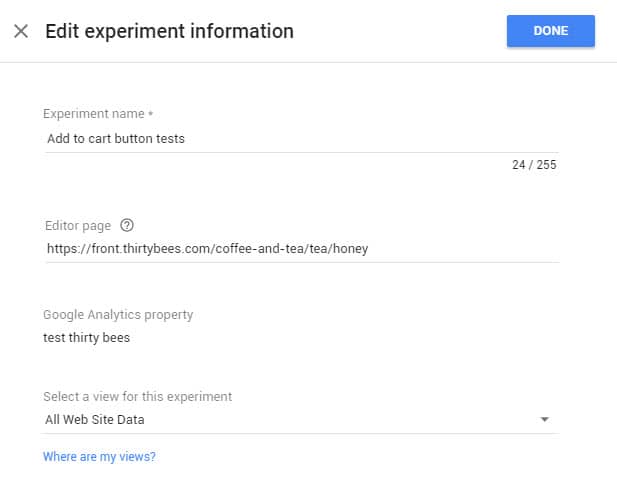
Now once you are back in the experiment, you can link your Google Analytics view to the experiment that you created. Under Objectives click the blue text that says Link to a Google Analytics View. A pane will slide out from the right, in that pane select All Web Site Data from the bottom drop down. Then click done.
Now we can set an objective to measure the test against. This is where you will need goals set up in your Google Analytics account. For the Primary Objective I have selected place an order. That is the only objective I want to set up with this test. So I click save after selecting it from the drop down.

Now, finally, after what seems like 300 steps, you can click the Start Experiment button. Click it, and get to testing.
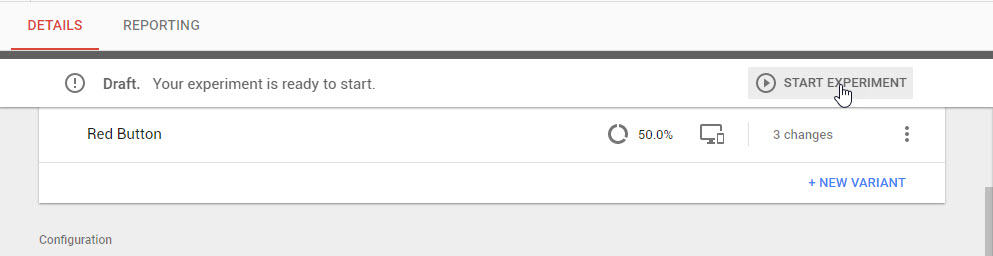
This will run the experiment until you want to stop it. Half the users will see one version of the page, the other half of the users will see another version of the page. Which one will be more successful? We set our test live on our demo site if you want to check it out. Half the users will see a yellow Add to Cart button and the other half will see a red button that says Buy Now! You can check it out here.
A note on Multivariate testing
Once you have mastered setting up simple experiments, you might want to try some Multivariate testing. It is more advanced, but in the end it can be really helpful. There is a great article here that describes it and shows a great use case where it was used to improve donations.


Thanks for the perfect tutorial. I thought this A/B testing is kind of difficult stuff. I needed like 30 minutes to set my first test up – amazing! I hope I got the goal right 😀 It’ always takes 24 hours to get some results right?
Thanks, this was one I got started with and about halfway through I figured out it was going to be a long one.
For the goals, if you set your GA to include the same days data it should come through before 24 hours.