Today we will have a deeper look at customer accounts in thirty bees. We will see how to set them up from the back office and customize the shopping experience for them.
Creating customer accounts from the Back Office in thirty bees
In thirty bees, customers can of course register their new account either by checking out or by manually reaching the registration page in the front office. There are times when merchants need to create accounts for their customers too though, such as for those who accept phone orders, or offer any other kind of indirect shopping experience. thirty bees makes it really easy, so let’s get to it!
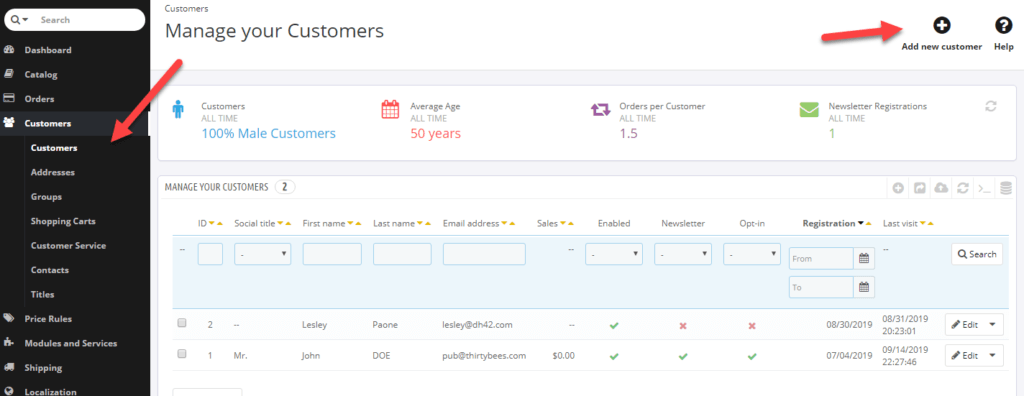
To create a new customer from the Back Office, let’s click on Customers, then Add new customer.
The next page allows us to choose all of the options a customer can select in the front office, and more.
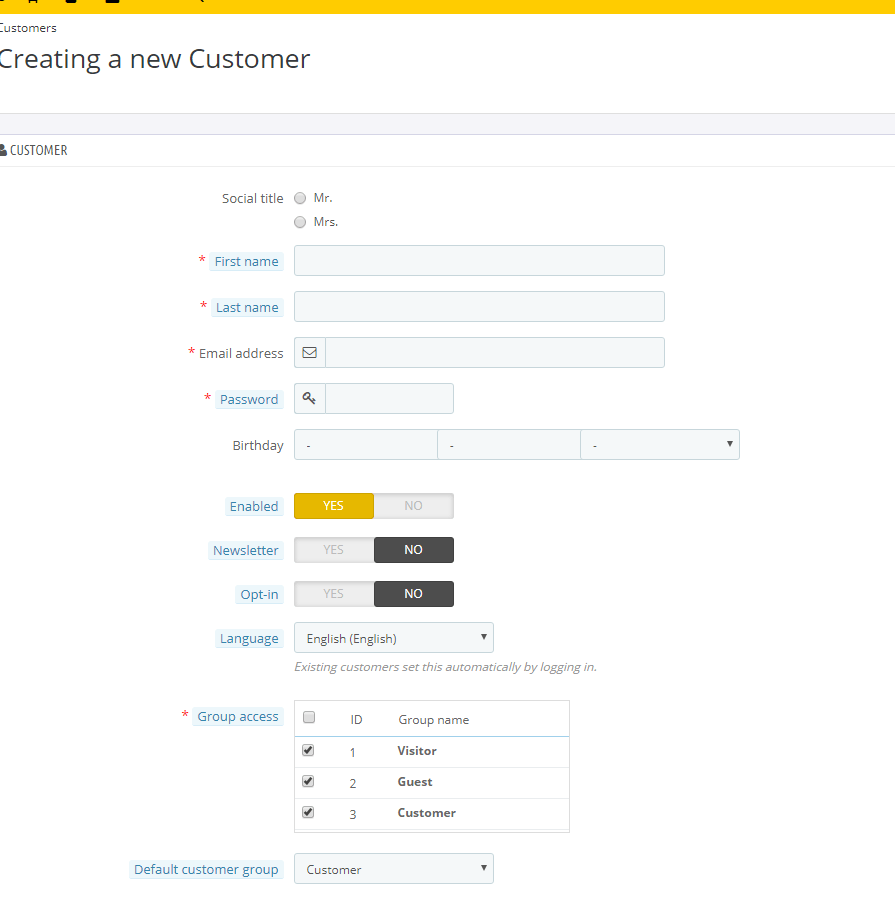
All of the fields down to Enabled certainly need no explanation, but here is what the others do:
Enabled: A customer might be enabled or disabled at any time. When disabled, he or she will not be able to login.
Newsletter: like the front office box, it’s whether or not this customer will receive your newsletter.
Opt-in: similar to Newsletter, it sets if the customer will receive ads and your partners’ (if any) offers via email.
Language: sets the front office language for this customer.
Group Access needs particular attention. Each customer can be assigned to one or more groups, that entitle them to receive particular offers, see specific categories, or use specific payment methods. By default, all users visiting our shop are Visitors. If we enable Guest Checkout, allowing people to buy without an actual account, after adding his information the visitor will become Guest. Lastly, by default, someone who registers will be put in the Customer group.
The Default customer group is important to decide which discount should be applied to the customer if he belongs to more than one group (the default one will).
It’s possible to create other groups of course, but we will see this, and more, in a future tutorial.
For now, let’s add name, email, password, and leave group access as per default, then save.
Creating a customer’s address
Now that the customer has been created, it will be possible to login to the front office using the email address/password chosen in the form. An email will be sent to the address too, containing all of the necessary information.
In order to be able to create a cart for him or her, an address is necessary. Let’s click on the new customer in the list to see the detail page:
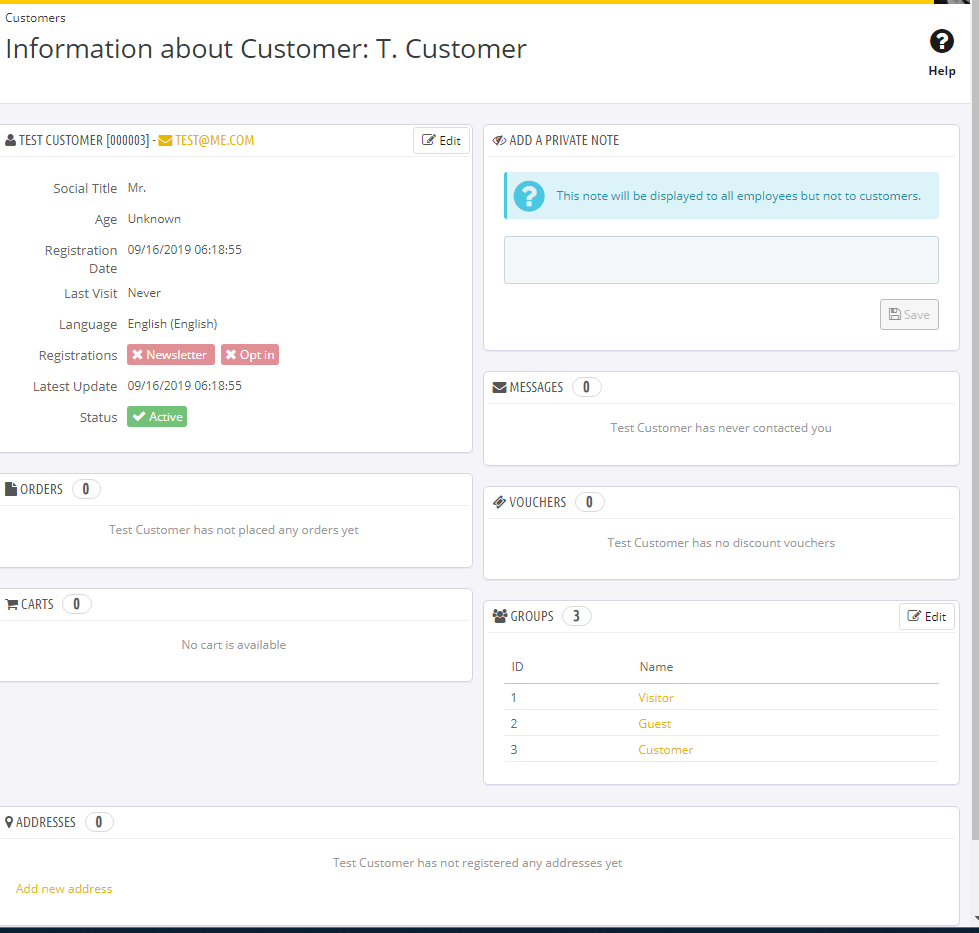
This page contains a summary of all of the activity and date pertaining this customer.
By clicking edit, we can change the information we added just a while ago, but what we need to do now is add an address, so let’s click on the bottom-most link on the page.
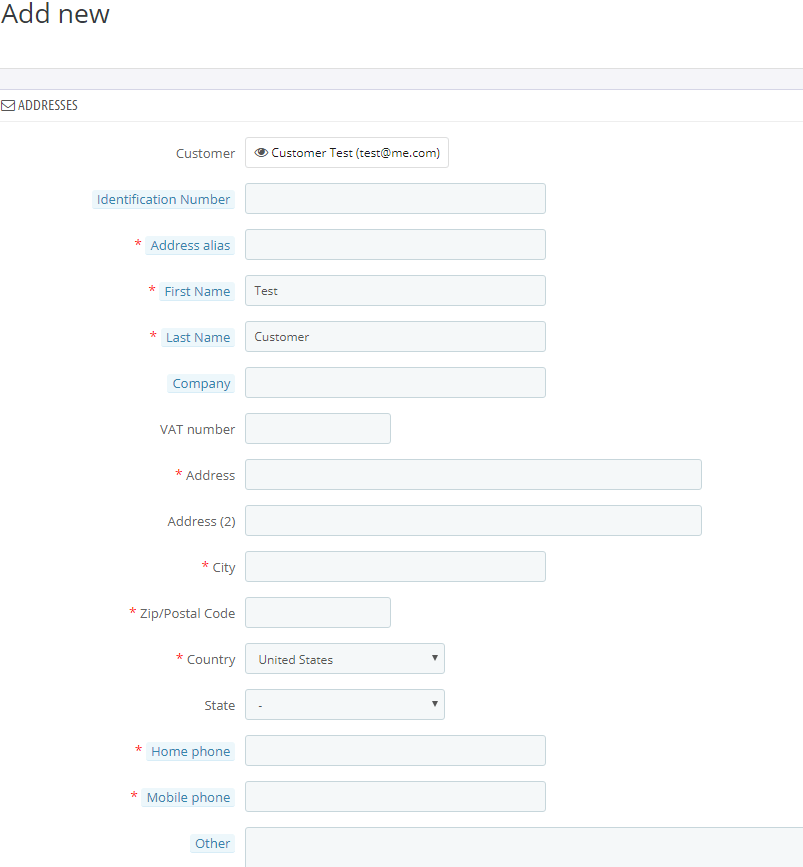
Here we can add the customer’s address, basically like anyone would do in the front office. Add anything, and click save.
The customer is now ready to shop! Of course if you are accepting phone orders, at this point you can create a new order from the back office as well, so that the customer will just have to wait for his package to arrive!
Adding targeted discounts
One of the neatest features of thirty bees is the possibility of adding targeted discounts for specific customer accounts.
From the main menu, let’s click on Price Rules, then Cart Rules. This is how discounts are named in thirty bees.

From the right hand side, click on Add a new Cart Rule.
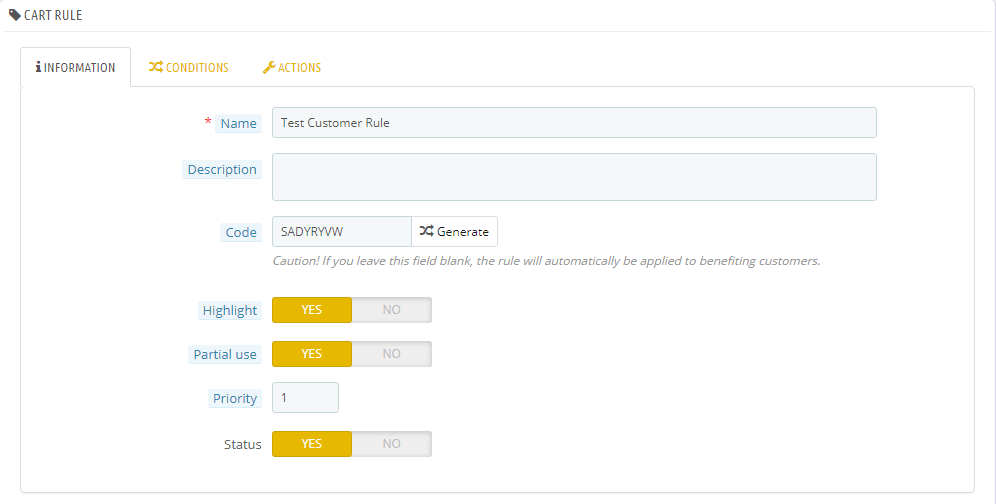
Set the values as the screenshot (any code will do, but make sure highlight is set to yes), then click Conditions.
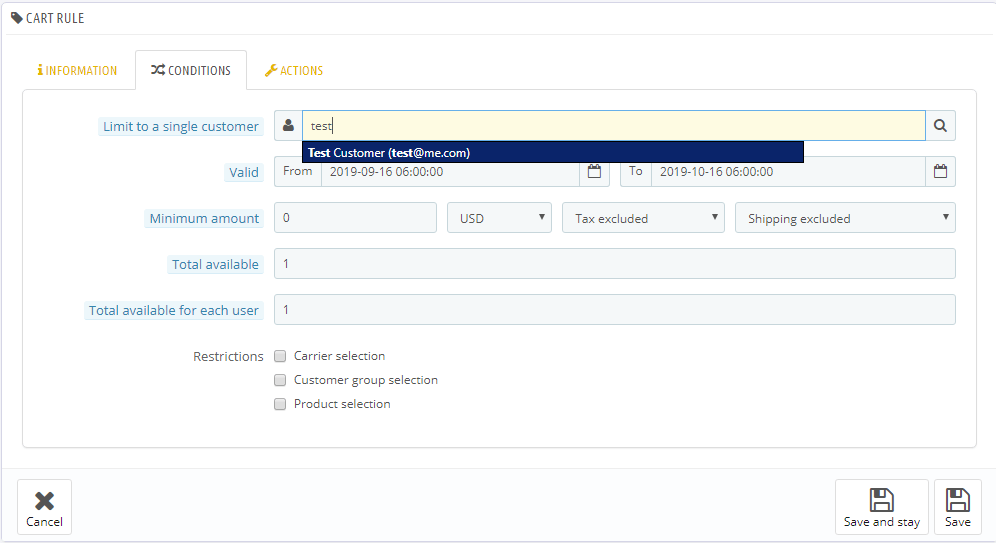
Start typing the name of the customer in the field, then set any value for the cart rule, making sure the dates are valid and the current day is within range. Ideally, for this test it’s better to leave all of the rest as default.
Lastly, in the Actions tab, let’s set something easy to spot, like a 50% reduction, and hit save.
This will create a discount targeted to that specific customer, and him alone, and nobody else will be able to take advantage of the offer. This is great to create special offers for customers that meet specific criteria, or reward high value orders.
From now on, the customer will be able to access his discounts from the account menu, clicking on My Vouchers.